As an administrator of Aptien, you can make changes to the settings of your organizers. You can easily add new organizers, and easily modify those you have to configure them as you need in your company.
What you can set up and customize in your organizers
- The name of the organizer, the icon and color of the organizer, the basic text and description of the organizer displayed on the dashboard
- The content of the organizer, i.e. the scope of the information (fields - details) and their grouping into detail groups, category settings and item statuses
- Custom text of the button for creating new items
- Form for creating new items - numbering, duplication check, and setting of mandatory fields
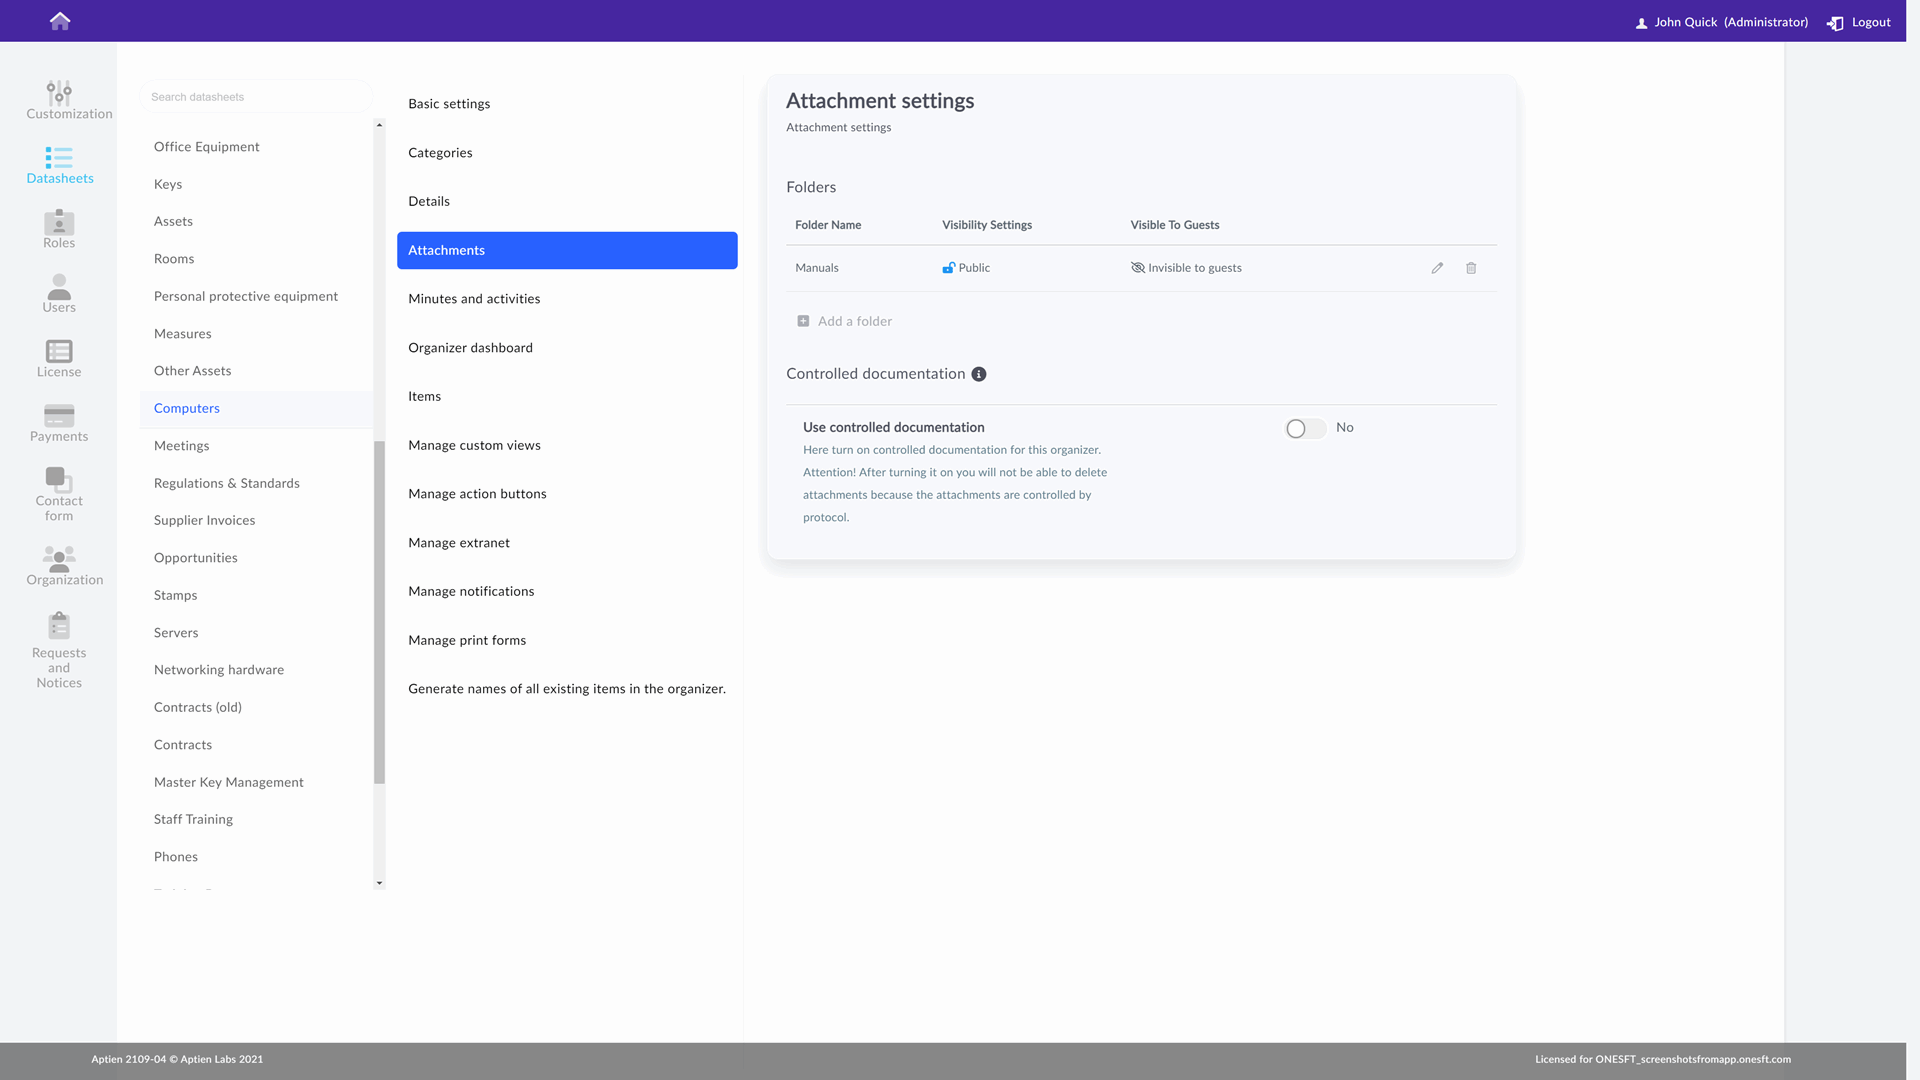
- Folders for attachments and access to them
- Turn access to the minutes tab off or on and set up types of meeting minutes
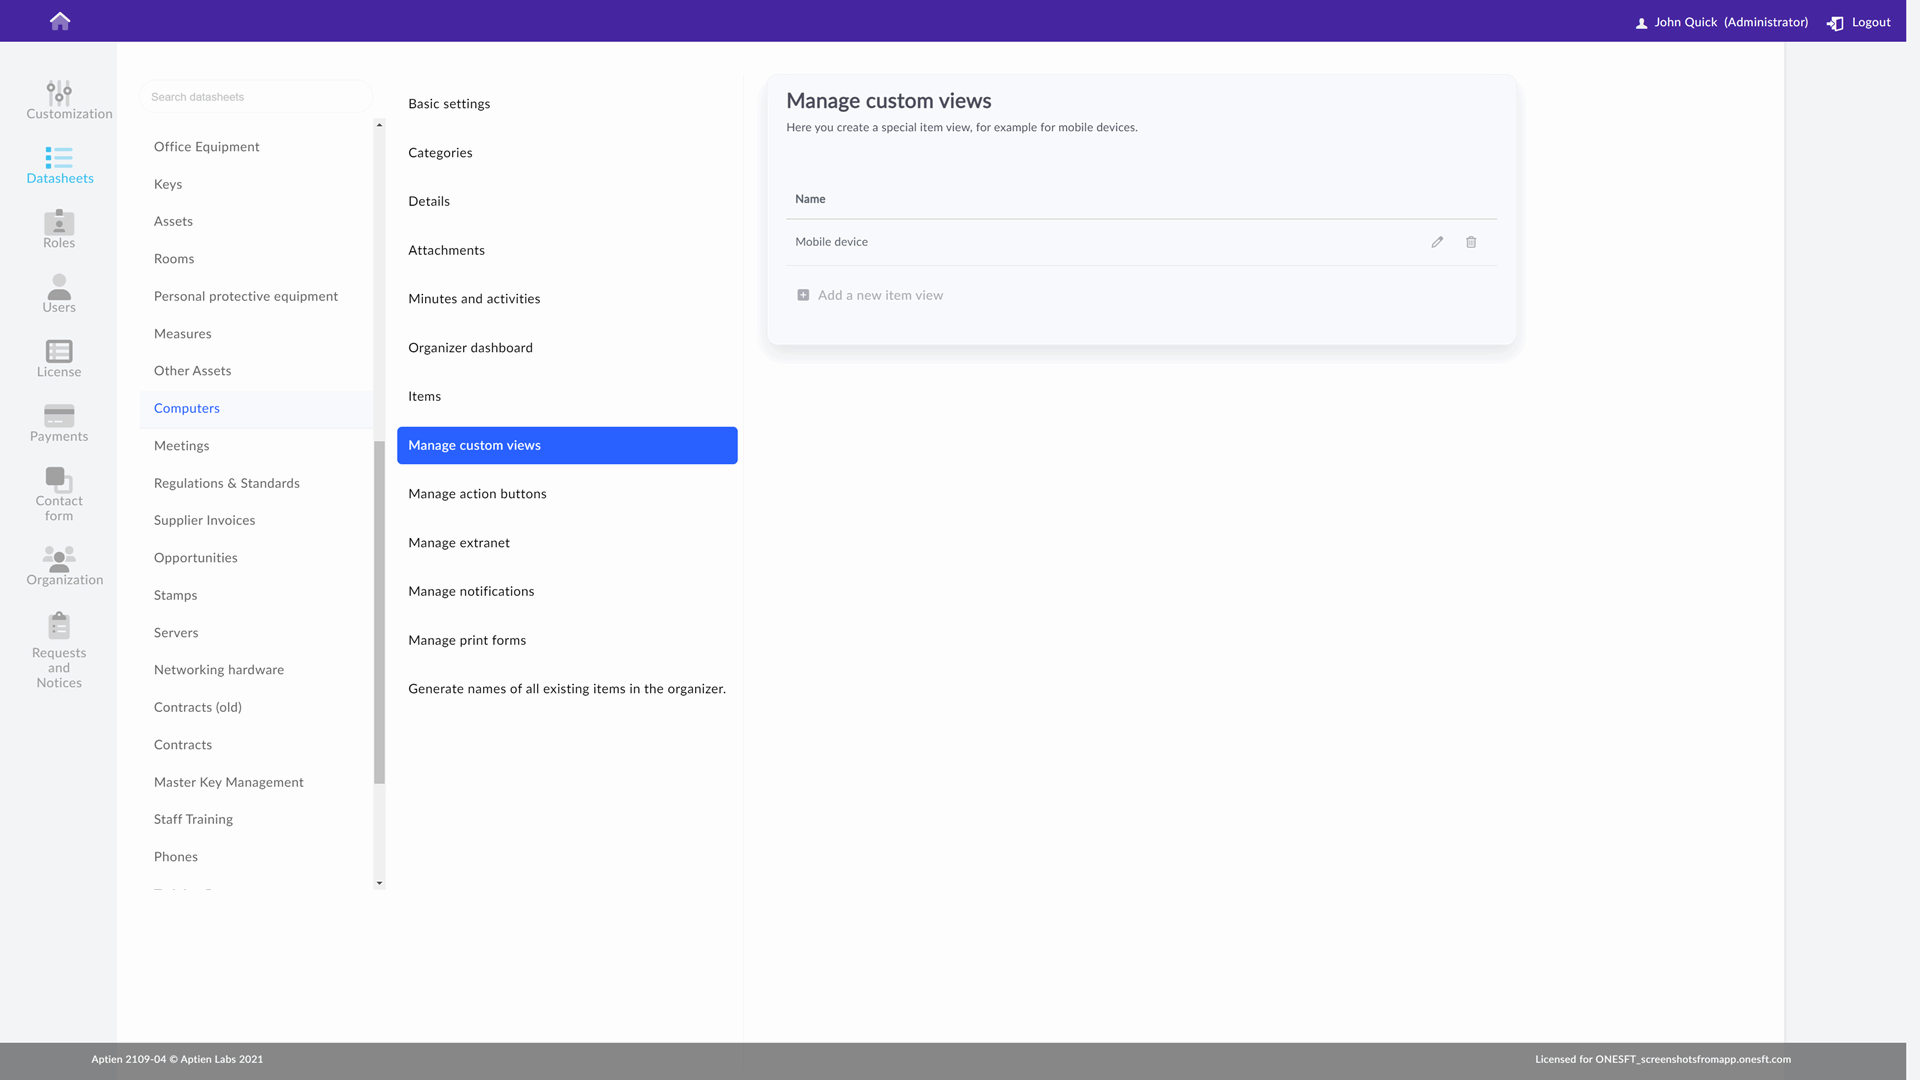
- Create special views of the data in the organizers
- Create and set action buttons
- Turn extranet off or on
- Create and edit print forms for organizers
- Set up change notifications to be sent
All the settings can be saved as a template, and you can create a copy of your organizer in Aptien.
How to Access Organizer Settings
- You have two ways to access the organizer settings:
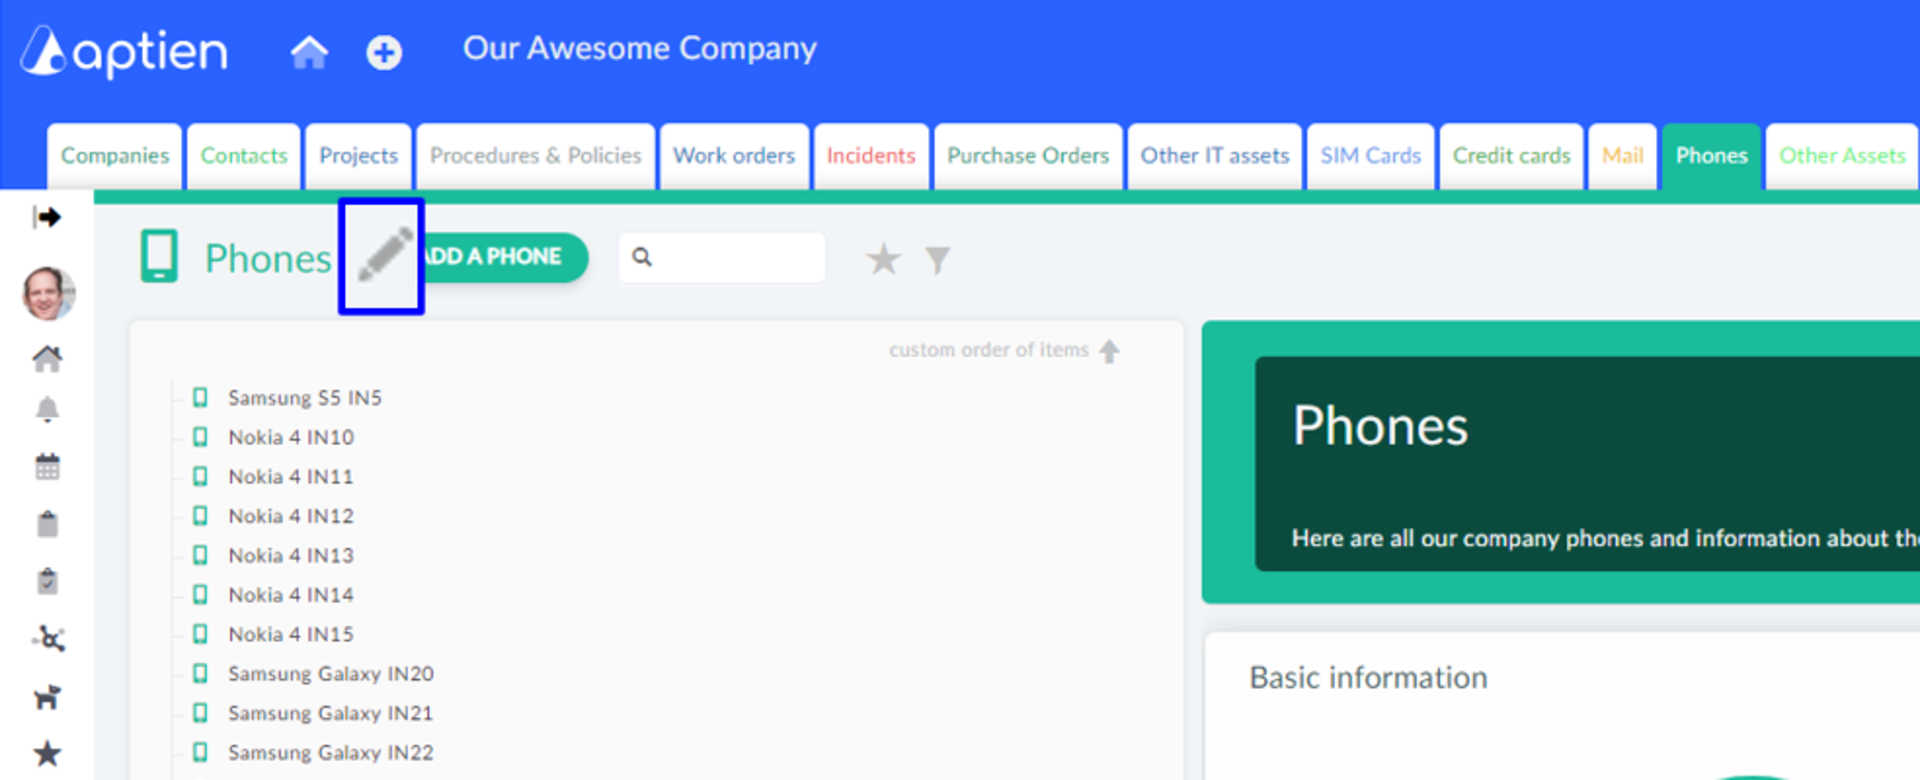
1. Directly from the Organizer:
- Select the organizer.
- As an administrator, you will see a pencil icon next to the record name. Click on it to enter the settings.
2. From the Administration:
- Go to the Administration section or open the settings directly from the records (as described above).
- In the menu, select "Records," choose the required record, and edit it.
Setting the color, icon, and basic text of the organizer
If you want to customize the organizer to your needs, you can set the following in the basic settings:- Name of the organizer (cannot be changed for the six basic organizers - Employees, Contacts, Companies, Projects, Processes and Course Catalog)
- Default view mode for organizer (Dashboard, List, Kanban, Table)
- The icon of the organizer and its basic color
- The background image of the organizer
- The description on the dashboard of the organizer, where you describe to users what is the content of the organizer
All the settings can be saved as a template, and you can create a copy of your organizer in Aptien.

A more detailed breakdown of the organizers into different types of items
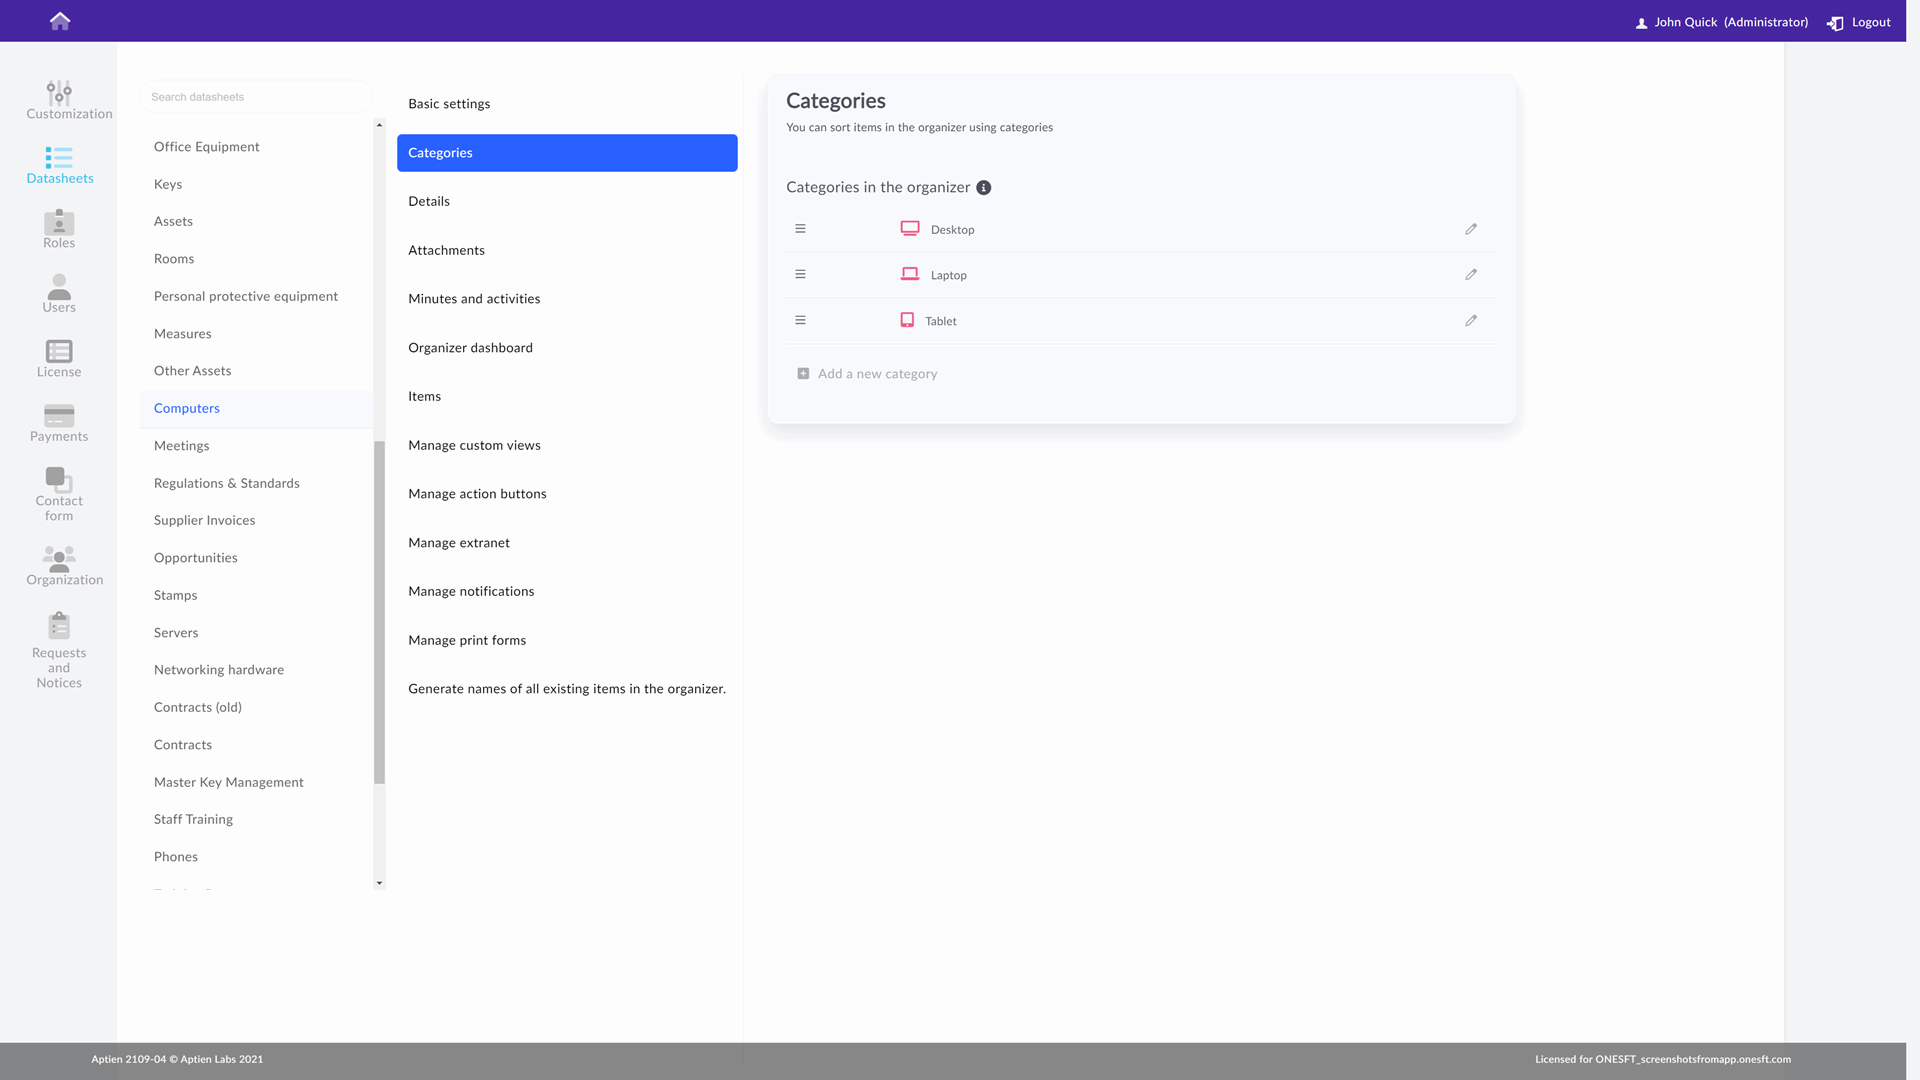
If you need to subdivide your organizers more finely, for example, into different types of contracts or types of vehicles in the vehicle organizer, you use categories.
- Categories are used to divide items into different types (for example, mobile phones, landlines)
- How to create, edit or delete categories can be found in this article
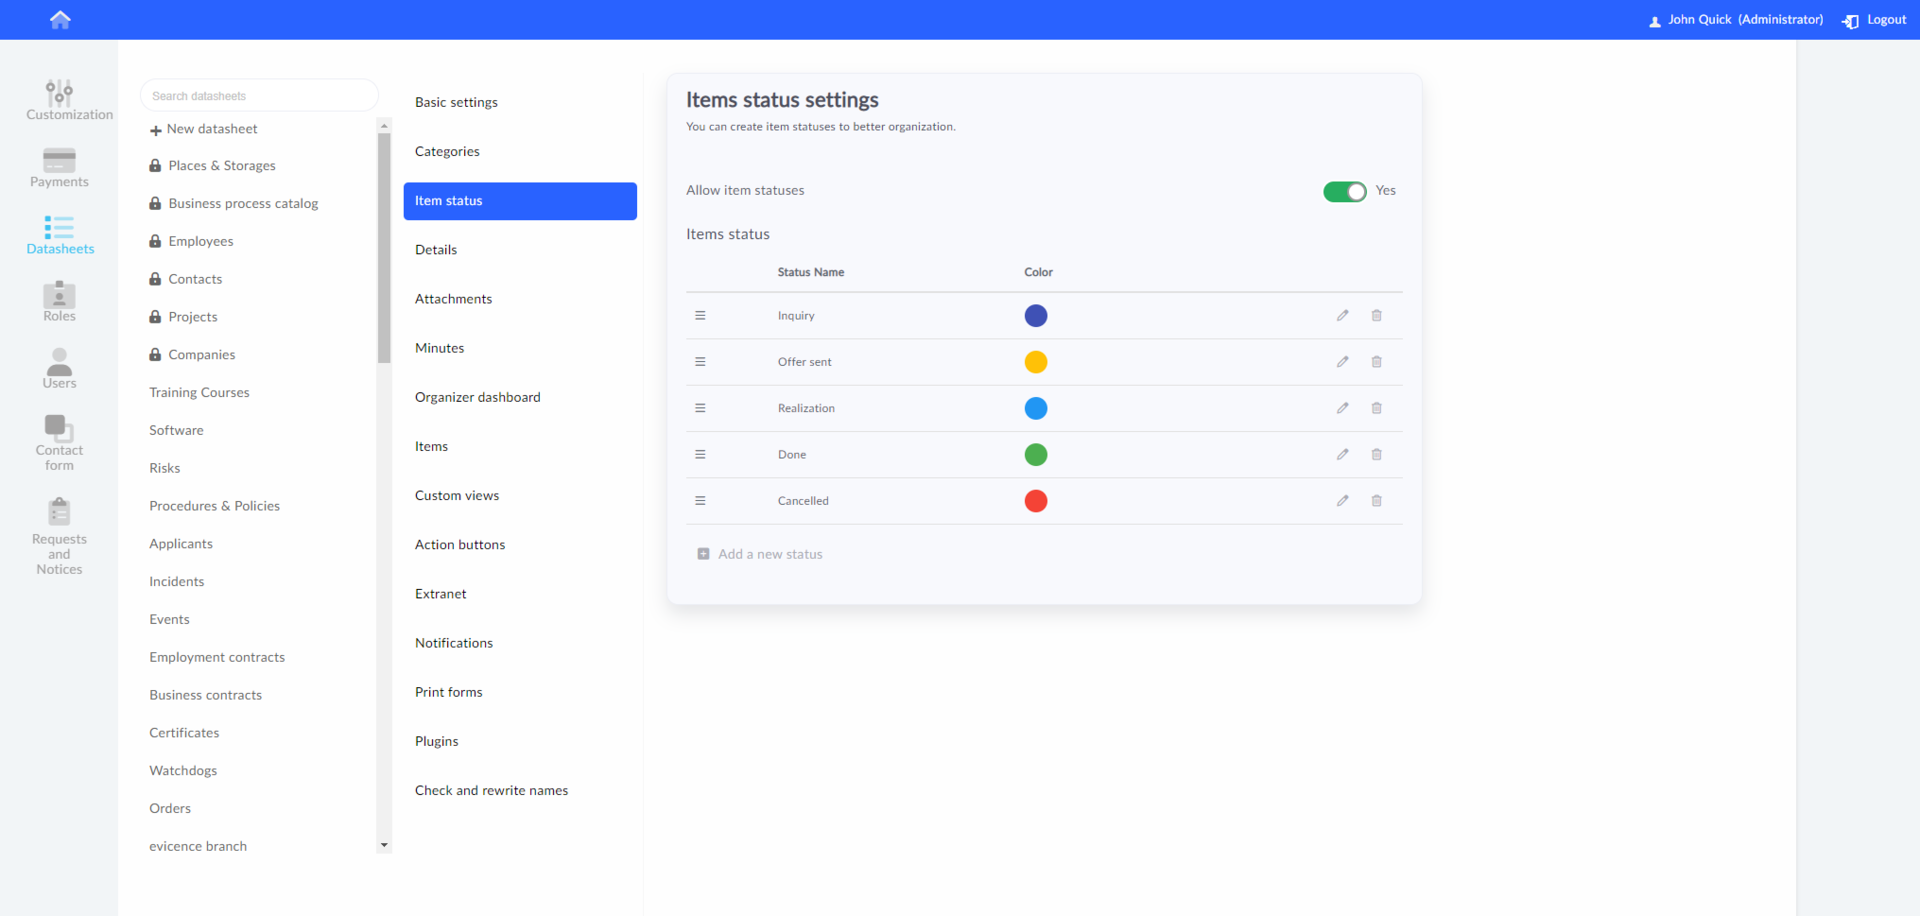
Setting item status
Item status is used to set up a workflow or process.
- Use the filter to focus only on items in the specific status you are currently interested in.
- Item statuses can also be displayed as a Kanban board
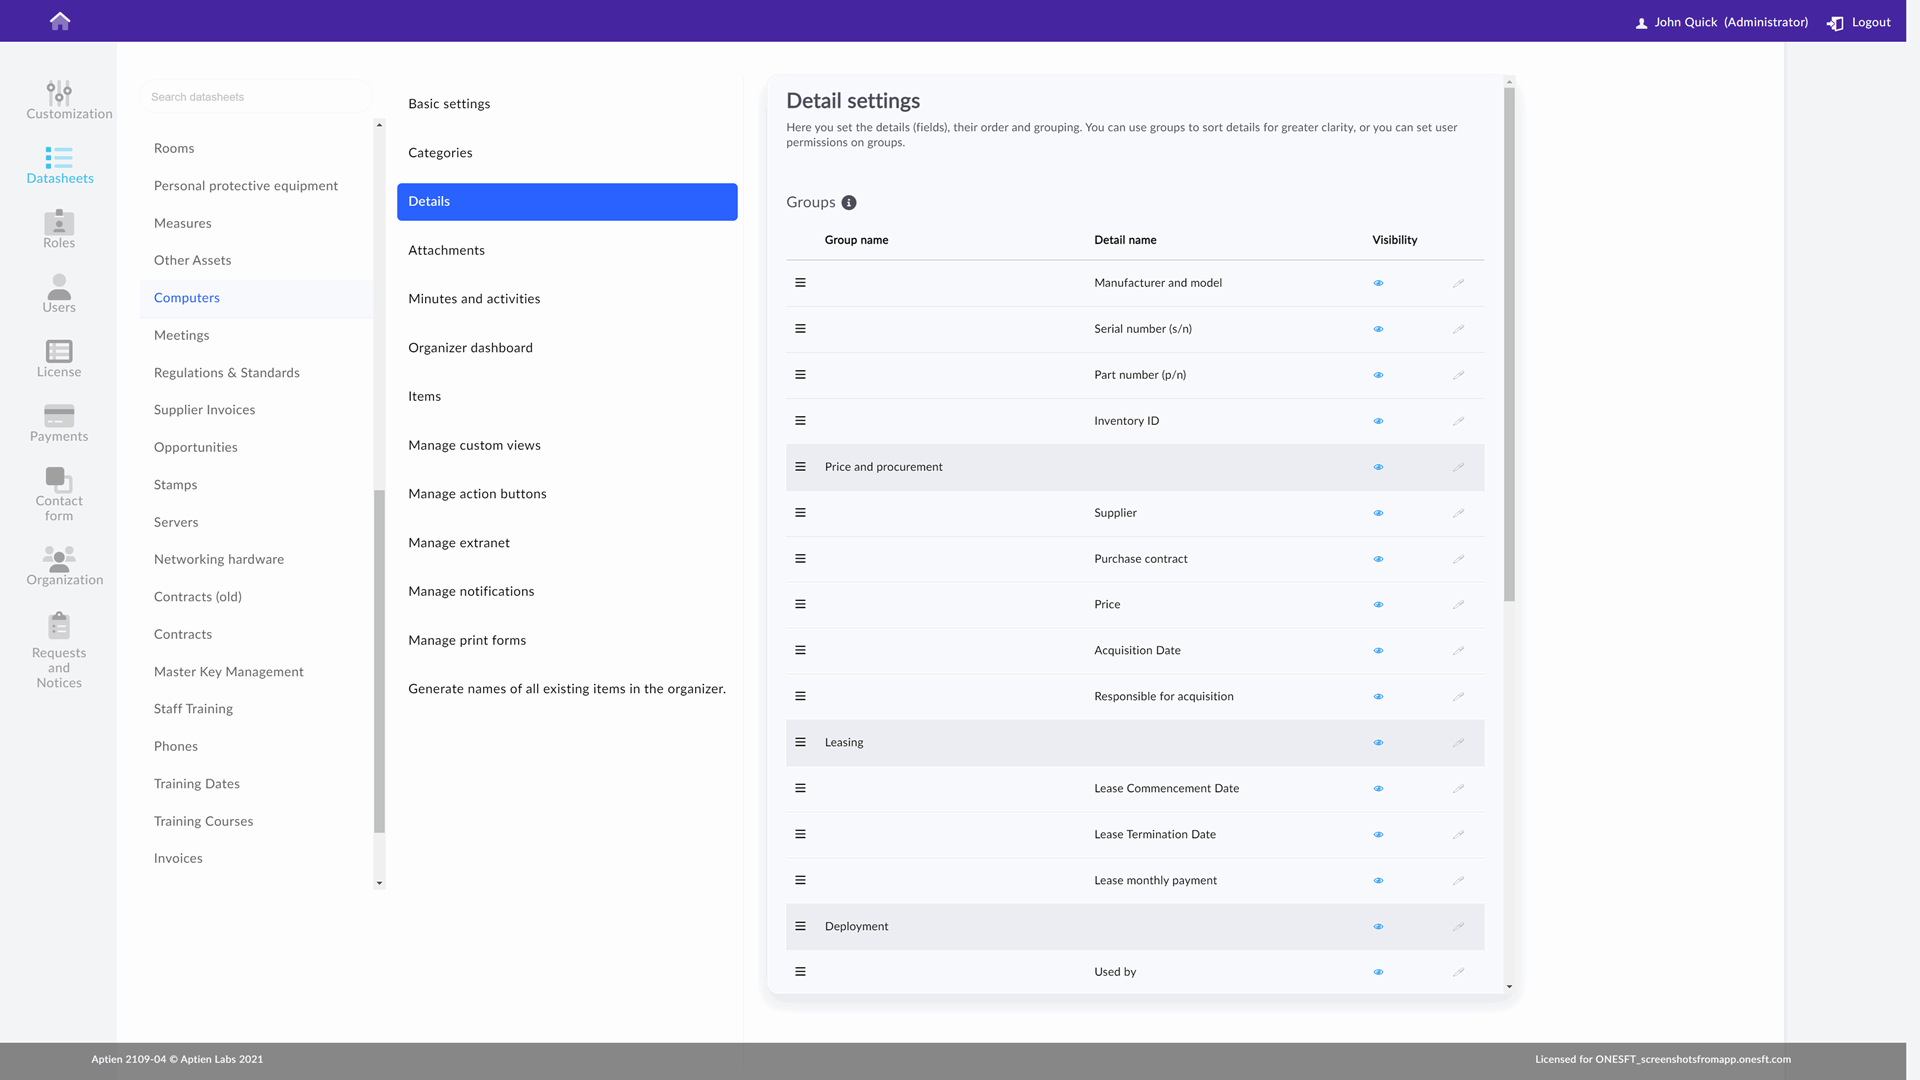
Customizing the content of the organizers, setting the scope of the information to be recorded
You can set separately what information (details, fields) you will keep in each organizer and how. Usually, you will work with a ready-made organizer (a template from the template library). Then you will probably edit this template. However, the same things apply if you create the organizers completely on your own. What you can edit:
- Details of items: how to create, edit or delete details can be found in this article
- Detail groups: how to create, edit or delete detail groups can be found in this article
Setting up attachments and folders for attachments
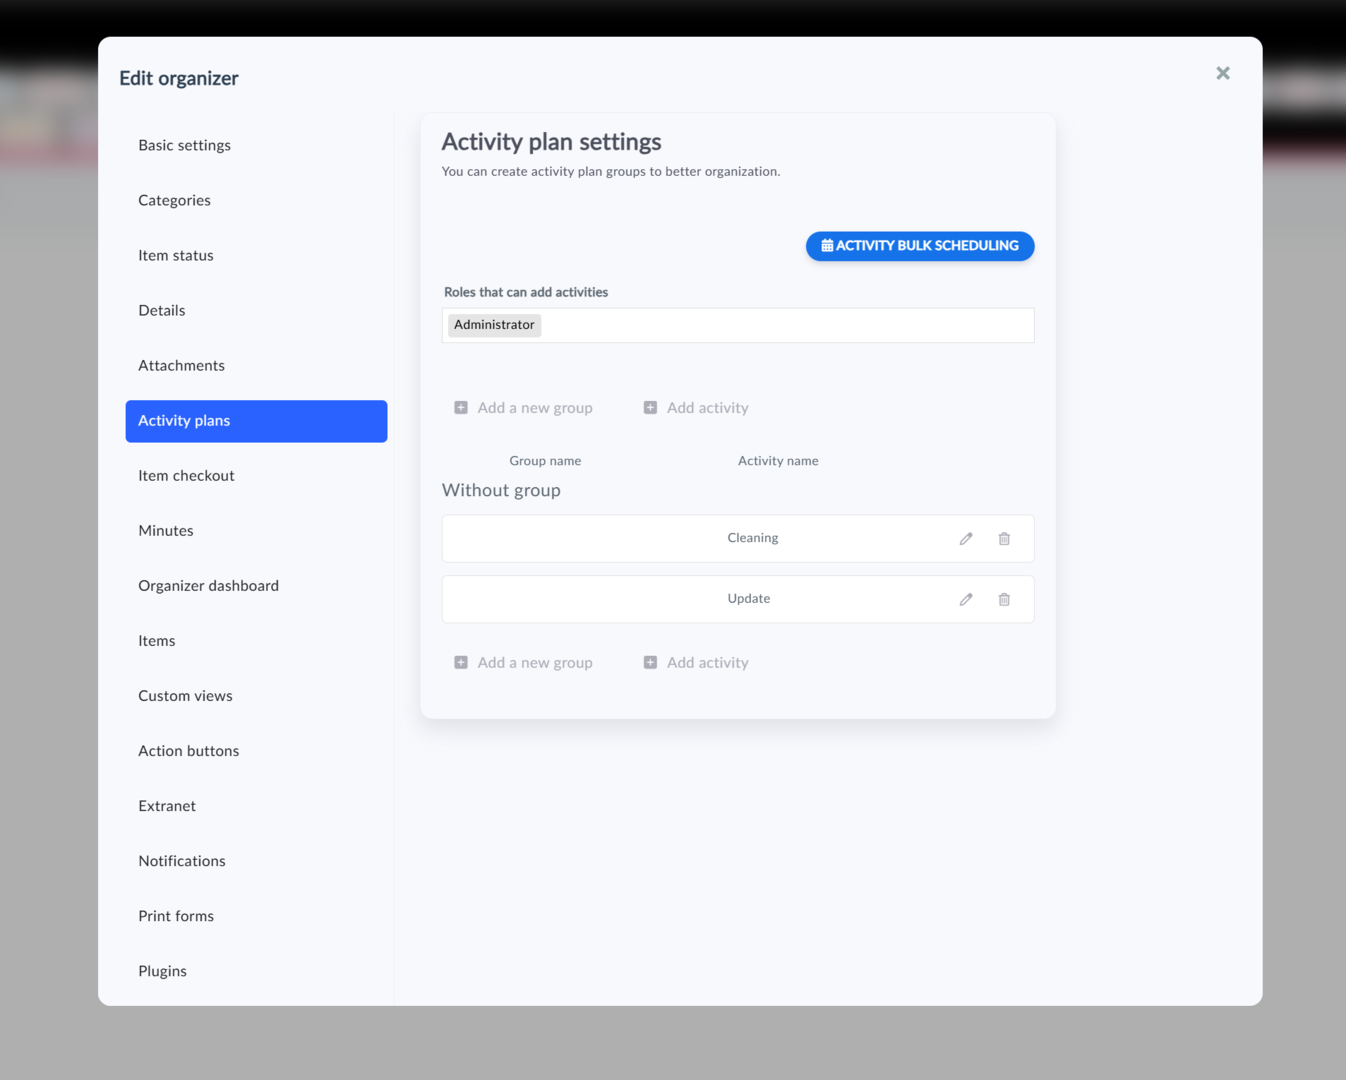
Editing and setting up activity plans
- Activity plans are checklists that help you plan and subsequently confirm what needs to be done.
- You can customize the default settings as you wish.
- See how to customize and edit activity plans.
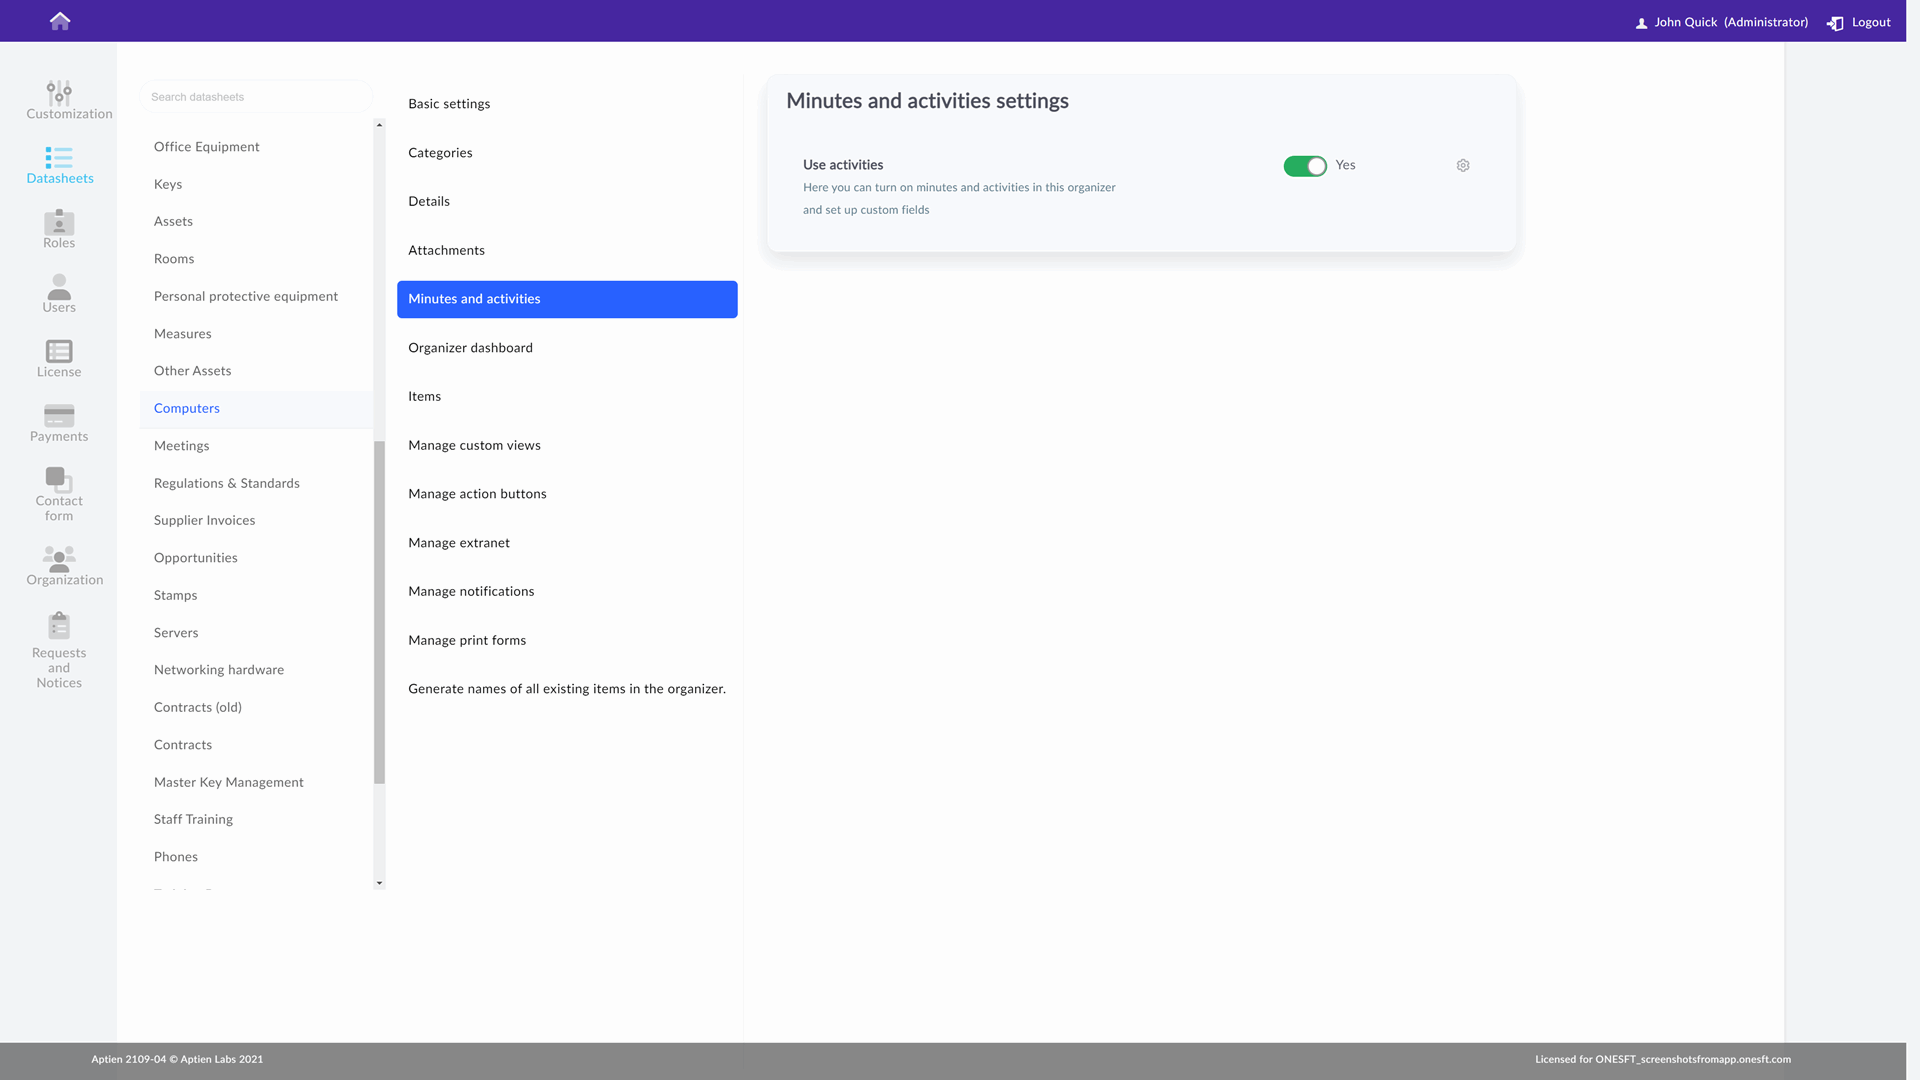
Setting up meeting minutes
- Turn access to the minutes tab off or on and set up types of meeting minutes
- You can also set the information structure for activity entries, where you can add custom fields if the standard entry fields are not sufficient.
Setting up the organizer dashboard
Graph comparing two values

Setting up the creation of a new item
- Text of the button for creating a new item in the organizer: set in the organizer settings (see below), type your text in the field "Custom text of the button to add a new item"
- Setting the form for creating new items
- Numbering (Item code, prefix) - can be assigned automatically to each newly created item: how to set the code can be found in this article
- Duplication check and setting of mandatory fields

Setting up special views for users
- Some processes require completely restricted and special user views that cannot be set using the standard menu.
Setting the action buttons
- Action buttons are special buttons that can be used to define selected actions, which are then displayed to users with permission to trigger them.

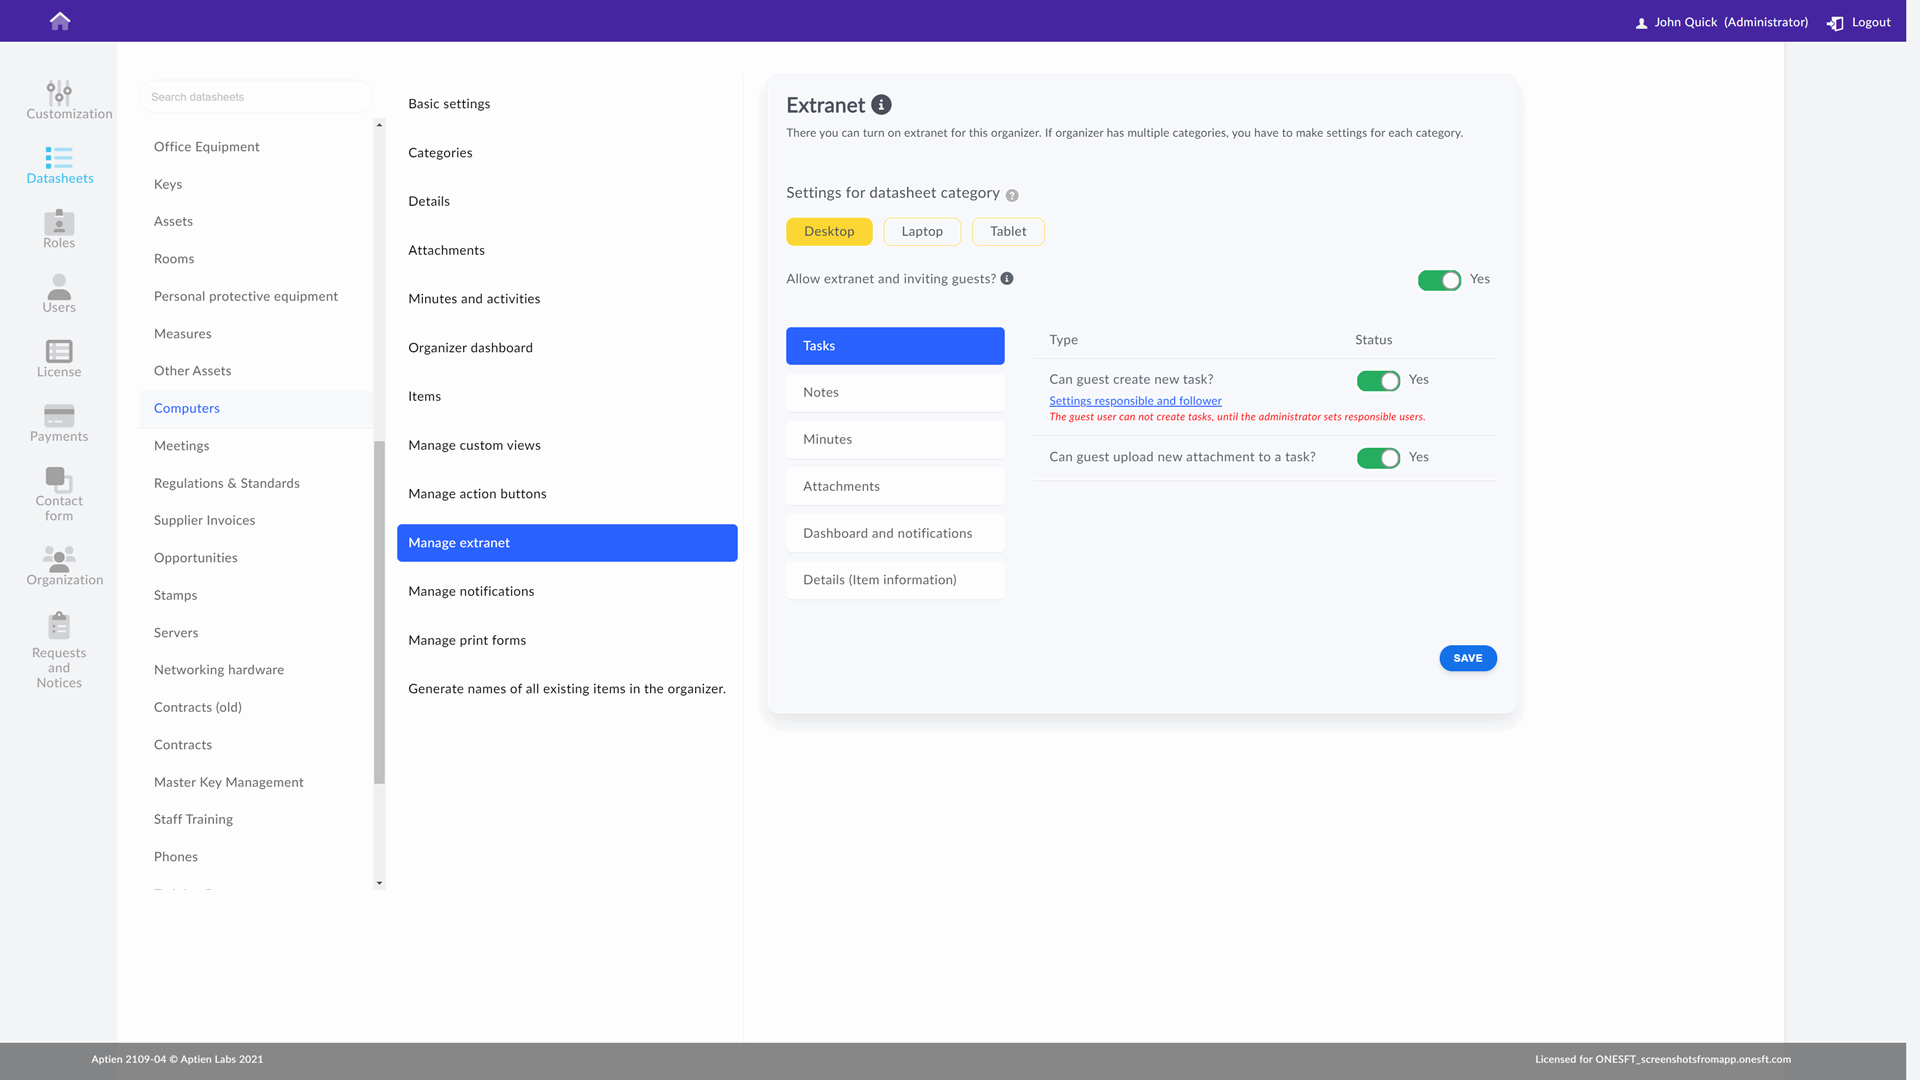
Extranet settings
- You can enable or disable the extranet and set what the extranet should display, who can access it and how.
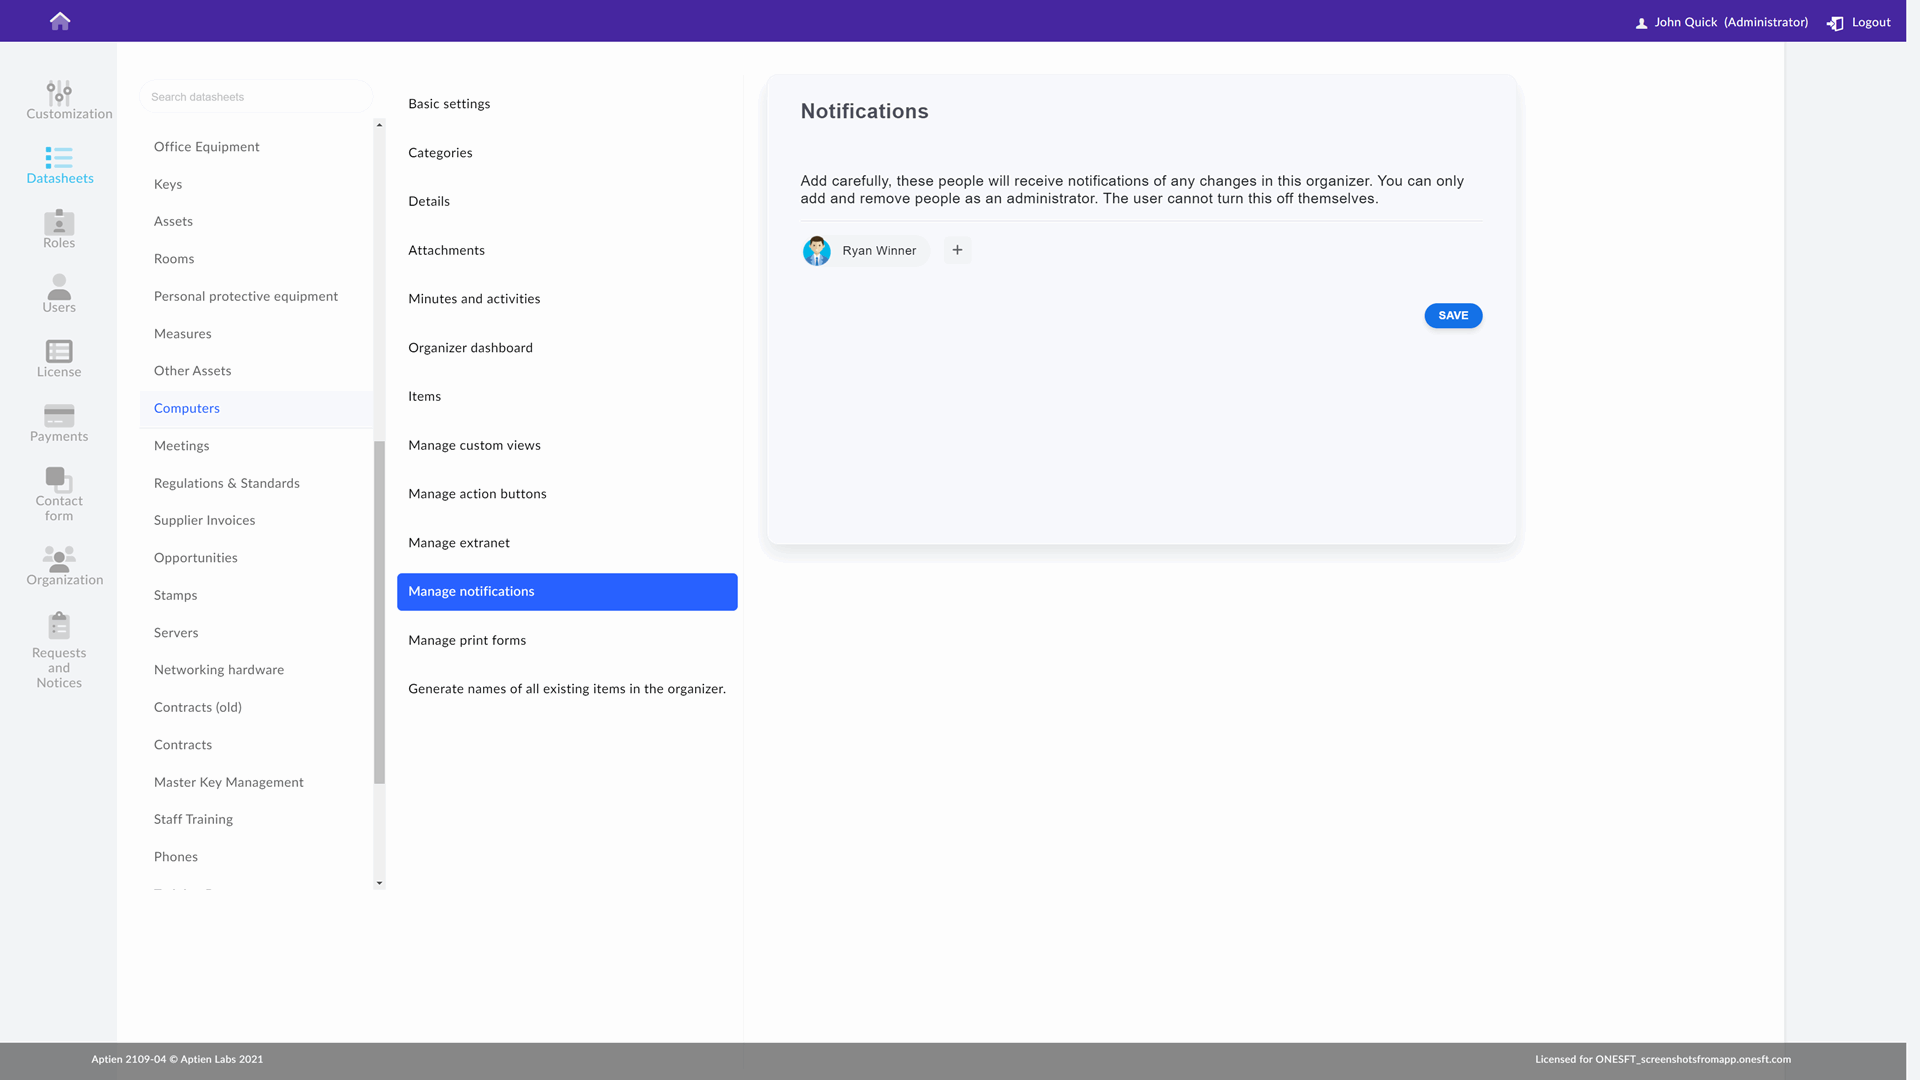
Notification and alert settings
- As an administrator, you can set who will receive notifications of any changes to the records. We recommend that you turn this setting on only in the Employees organizer, where you set the person responsible for HR to receive notifications of changes to any employee record.
Setting up print forms
- For each organizer, you can set which print forms users will be able to run.
Setting permissions to access information in the Organizer
All users shouldn't have access to all information held in Aptien. Set up user permissions on two levels:
- Access rights to Organizers, to categories of items in Organizers, and detail groups
- Permissions to edit, create and delete records in Organizers
Click here for detailed instructions on how to set up user permissions for organizers.