This article is for administrators.
Settings for creating new items
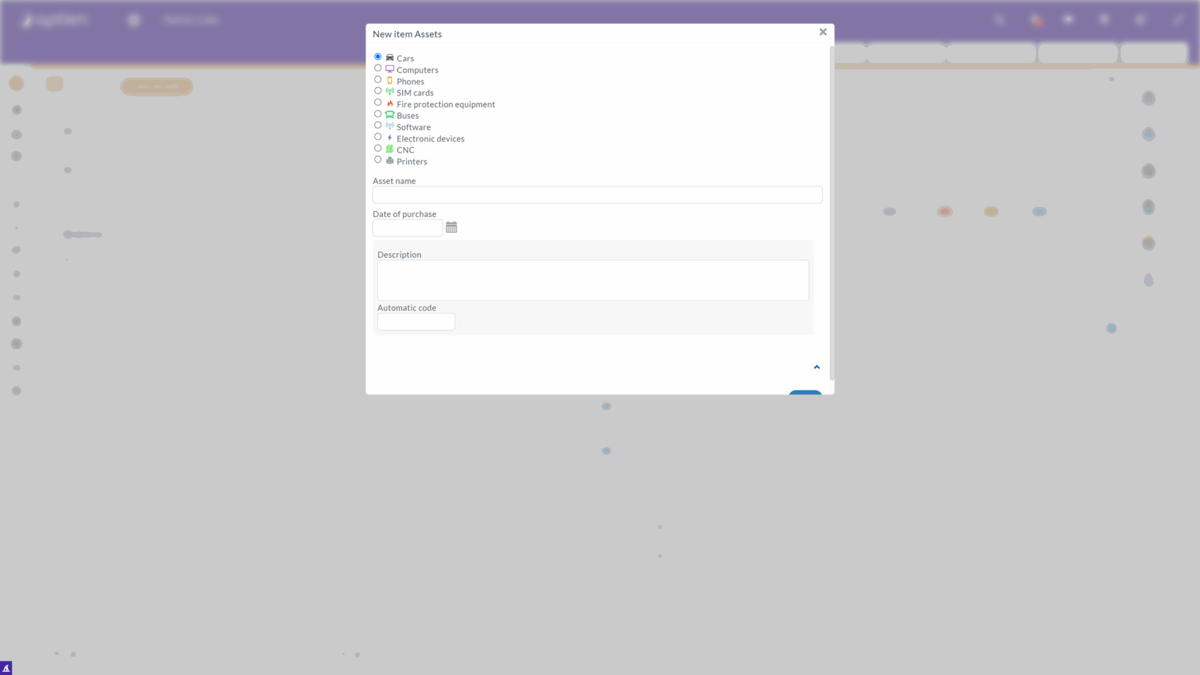
The administrator can set how the form for creating new items will work and look in each Organizer. It determines what information will need to be filled in to allow a new item to be created by the button's name or the content of the accompanying help texts for the user.
Text on the button to add a new item
In each Organizer, you can add any name to this button. For example, in the projects Organizer, it could be "Add new project" and in the contracts Organizer, it could be "Add new contract". This setting will be done by the administrator in the settings of the given Organizer.
- Open the organizer settings
- Go to the "Items" tab
- Fill in the "Custom text for the button to add a new item" field
- Save
Accompanying texts for adding a new item
It is also possible to set up accompanying texts to make it easier for users to navigate the system. The information will be displayed in the form for creating a new entry. You can set:
- Replace the "Name" label (the name of the field)
- Placeholder for creating a new item
- Additional advanced help when creating a new item
Creating a name from details
If you want to automatically create item names from individual details, use creating items from details. This will also make the item creation form more intuitive for the user.
Setting up categories
If you choose to use categories in your Organizers and add them to your Organizer settings as an administrator, you will always be presented with categories when you create an item. As an administrator, you will set icons for each category and make other settings. Categorizing items into categories is useful if you want to search for items quickly and easily or if you need to distinguish between different types of content in your Organizers (for example, different types of contracts or different types of assets). At the same time, using categories will simplify the process of determining access to data for individual user roles.
