This article is for administrators.
When creating new items, you may want more than just the name of the item in the item name
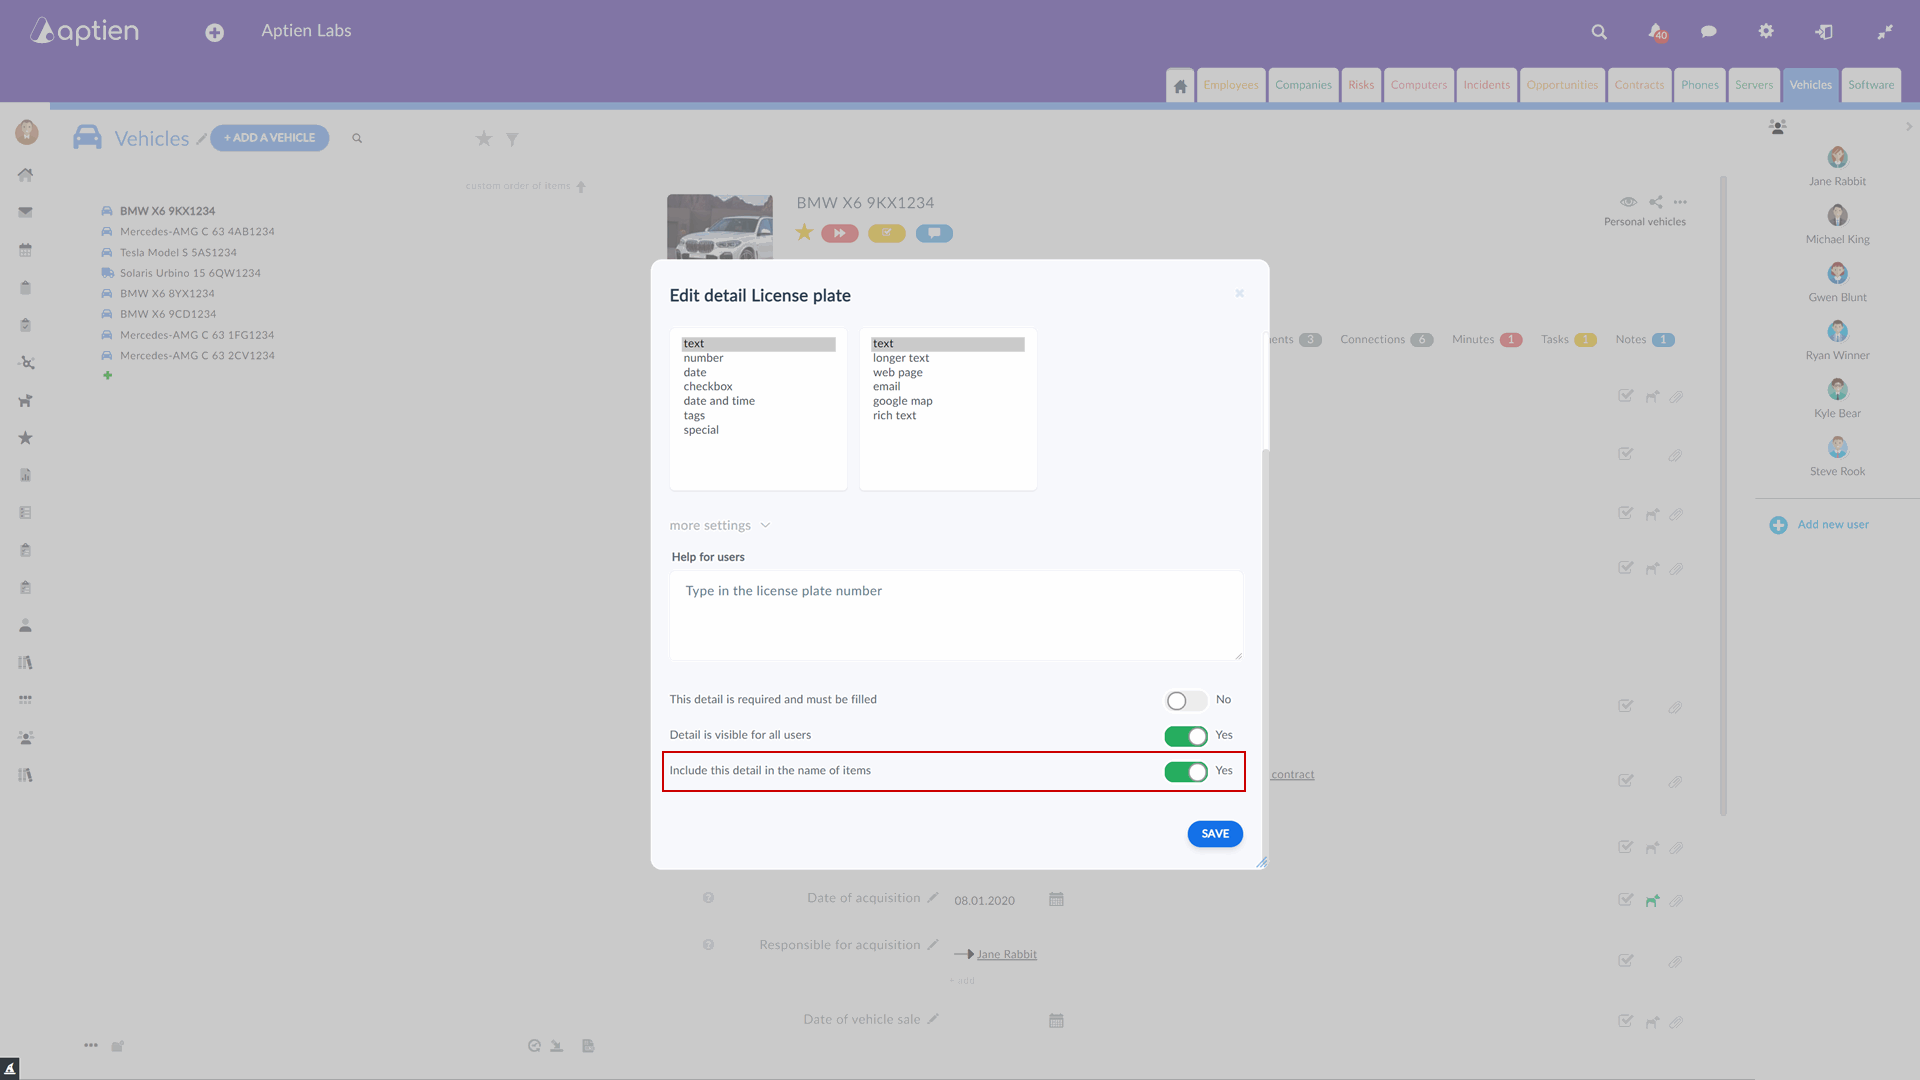
If you need to add some additional detail to the item name (license plate number for cars or employee's personal number) to make it easier to distinguish the items in the list, you need to go to the settings of the detail you want to have in the item name and check "Put into the name of items". Check this box for each detail you want to have in the item name. For example, for cars, this could be a combination of the name and license plate number.
When you add a car, you will be presented with the name and license plate number to fill in. All of these fields will appear as the item name when you add the item. If a detail is in a detail group that is only in one or more categories when you add the item to the list, it will only show for filling in the category where the group occurs.
What to do if you have several items already created and you want to extend their name with some detail
In this case, you also need to check "Put into the name of items" in the details you want to have in the item name. Then go to the Organizer settings via the edit pencil next to the add item button. Then click on the "Generate names of all existing items" button.
A window will appear to alert you to items that do not have the details (or only some of them) specified for the item name filled in. If these details are not filled in, only those details with values filled in will appear in the item name. If no detail for the item name is filled in, the item name will be blank. To make changes, confirm by clicking the "Generate new names (irreversible)" button. The name changes will take effect immediately.