How to create a connection
Connections are created naturally within the system as you keep filling it with data. You can also create connections manually in the "Connections" tab. There you can find all the connections, and you can add them too. All you have to do is click the "+ Add new" button and select an item you want to interlink.
You can find a full description of connections here.
There are two options you can create a connection:
- Automatically filling a detail with the connection format - the most common
- Manually adding a connection in the "Connections" tab
You can also set the connection's time validity (connection type).
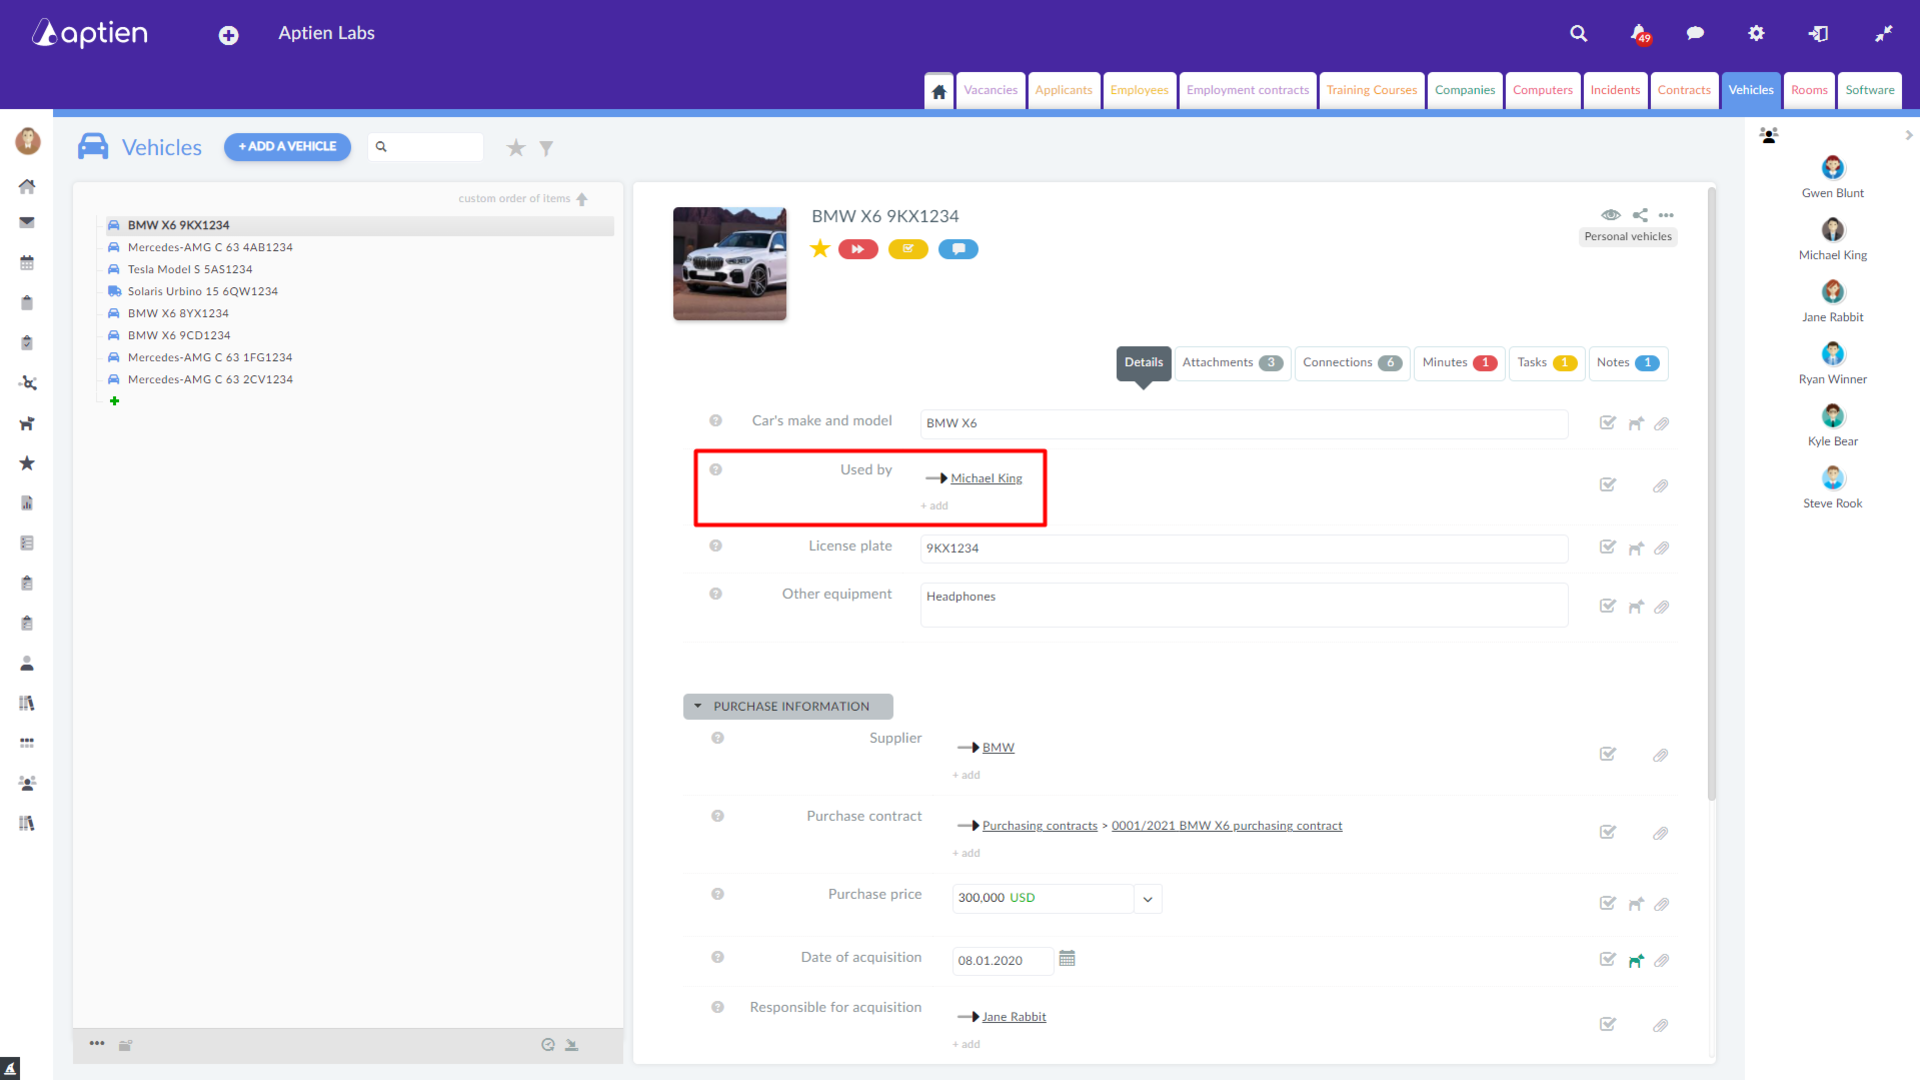
Automatically filling a detail with the connection format
The most common connection is by filling a detail with the connection format.
Follow these instructions to fill in the detail:
- Click on "+ add" and start typing the name of the item you want to connect or use the Organizer icon to select the item from the attached Organizers
- Select the item. The green items are already connected items. The system also watches over the creation of existing or similar connections. If it spots a similarity, it asks you if you want to create the connection anyway
- In case you used the Organizer icon, select the item and click on the "Add" button
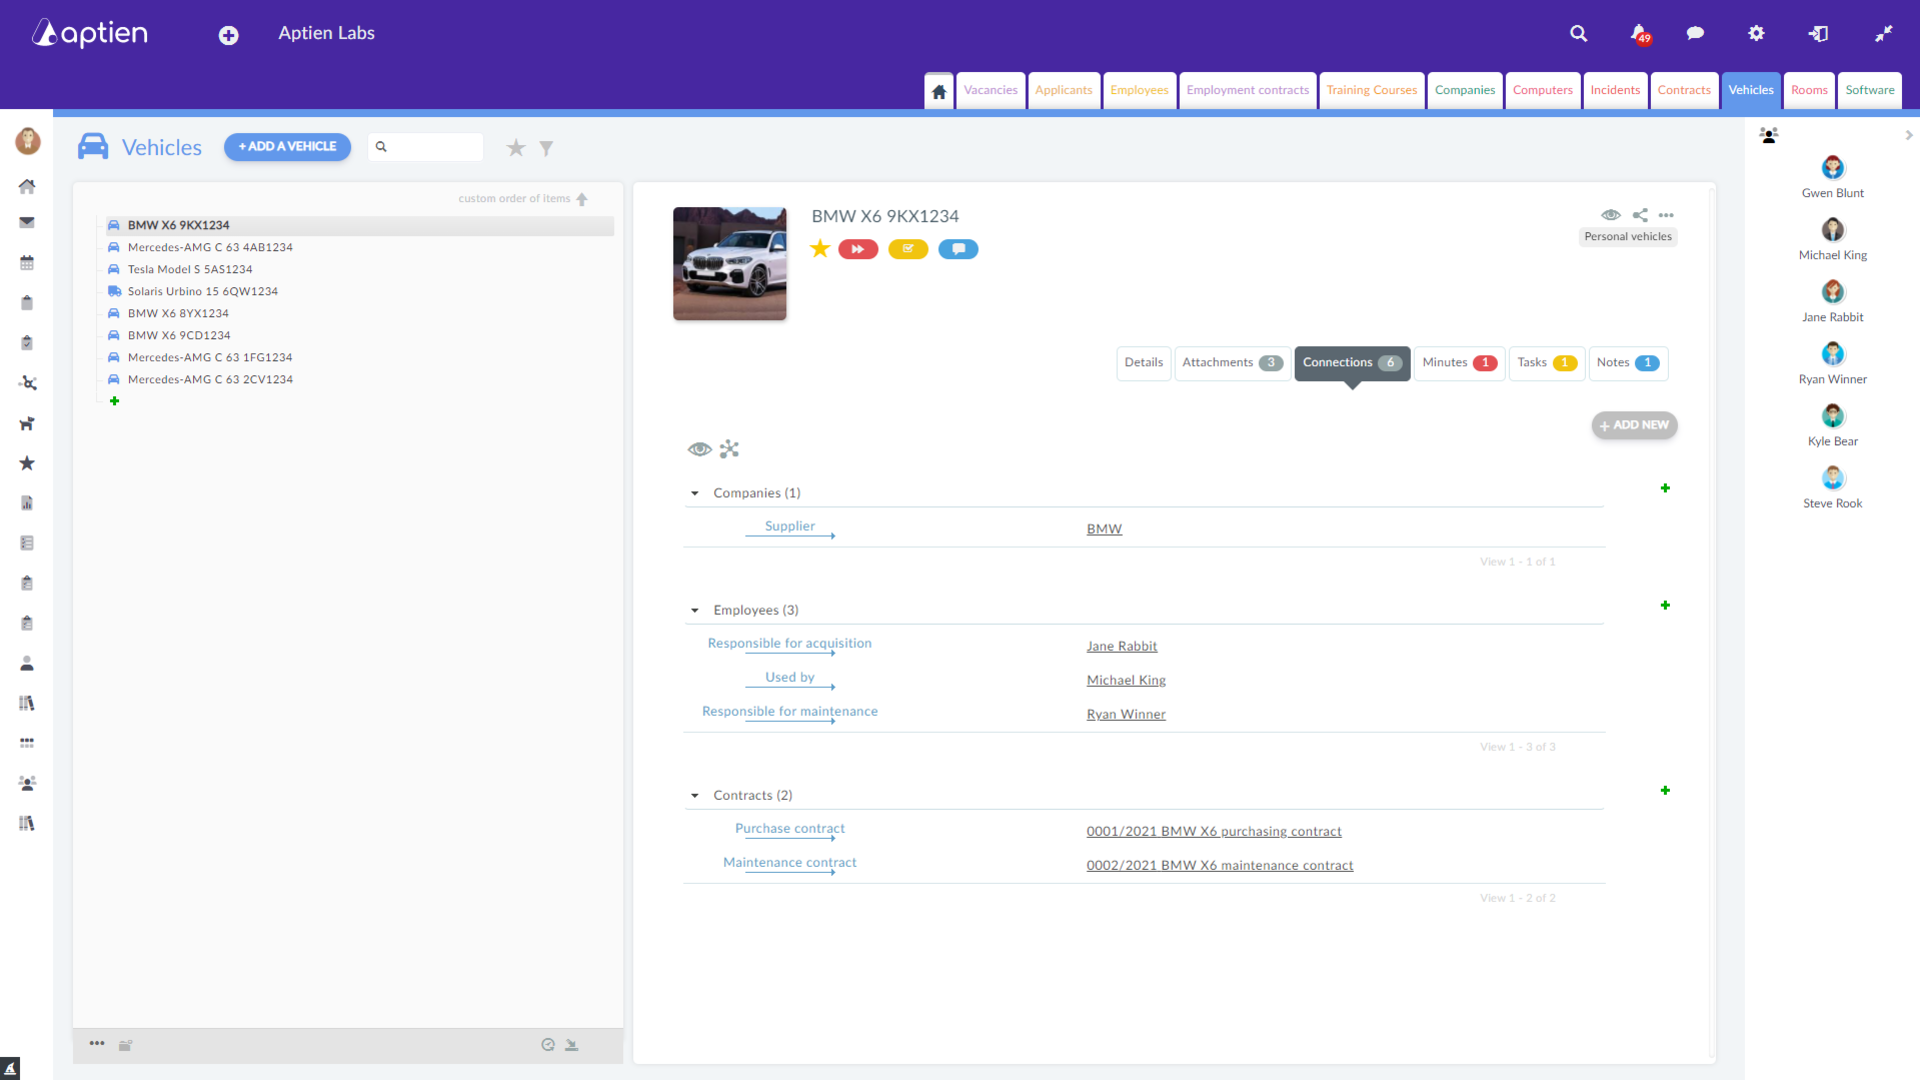
Display your connections in the Connections tab
The connection is automatically displayed in the connections overview you can find in the "Connections" tab. You can also access the items from here.
Manually adding a connection in the Connections tab
If a suiting detail does not exist in your Organizer, you can add connections in the "Connections" tab:
- Open an item, then go to "Connections"
- If there is an existing connection to any item in the Organizer, you can add another connection using the green "+" icon. If there is none, use the "+ Add new" button and select the Organizer from the list
- Select the item you want the connection with and press the "Add" button. The green items are already connected items. The system also watches over the creation of existing or similar connections. If it spots a similarity, it asks you if you want to create the connection anyway
Additional connection settings
Postponed connection or connection expiration
Each connection has a time validity. The effective date of the validity is automatically set to the date of the connection's creation. The effective end date of the validity is set to the date of the connection's deletion. If you want to change the validity dates, you can edit the connection in the "Connections" tab.
By postponing the effective date of the validity, the connection is displayed on the day you selected, and it is inactive until then. It can be displayed the same way you display archived items.
Connection type
You can select a connection type for your connection. The administrator can set these types - there are predefined types for default Organizers and all the Organizers created from a template.