This article is intended for administrators.
How to create a user group
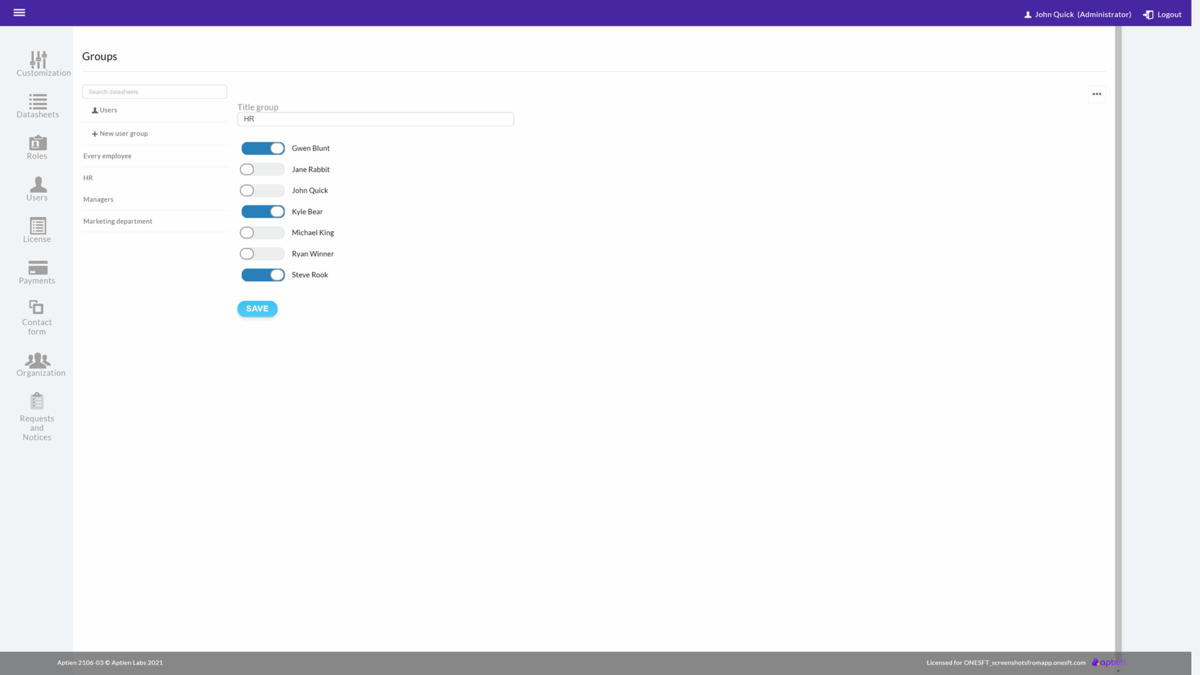
- Go to Administration
- Select "Users" from the menu
- Click on "Groups" and then "+ New User Group"
- Follow instructions below, Assign users to the group
- Fill in the name and confirm by clicking on "Save"
- Save the settings
What groups are for
Groups are distribution lists that help you bulk enter multiple employees (or other users) assigned to a group so that you don't have to enter them one by one. Instead, you enter the group. You can use this, for example, on the wall or when distributing policies. If you want to group employees by their job title, use roles or job titles.
Where to use user groups
Distributing policies via user groups
- Groups allow you to sort employees for easier distribution of policies within your company.
Entering information on the wall
- Additionally, you'll appreciate user groups when you're setting up a new task, note, or posting on the wall. Here, you no longer have to add each employee manually but simply add the entire user group.
How to create a user group
- Go to "Administration" and to the tab "Users"
- Click on "User Groups" and then "+ New User Group"
- Fill in the name and just click "Save"
- Click on the group name to assign users to the group and save changes
